{This post may contain affiliate links. That means that I earn a commission if you make a qualifyingpurchase through my links (such as Amazon), but it does not change the price that you pay. For more information, please see my disclaimer page.}
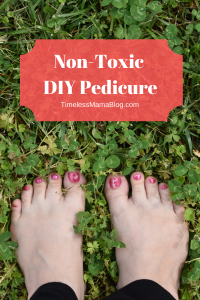
Tomorrow is National Flip Flop Day, are your feet ready? Here is a quick guide to the perfect natural pedicure.

DIY Pedicure
{This post contains affiliate links. This means that I earn a small commission when you purchase through my link, but it does not change the price that you pay for your item.}
- Remove old polish.
- Soak feet 20-30 minutes in nice, hot water (careful not to burn yourself) and your choice of foot soak (I have a post with some here). For an added nice touch, put some marbles in the bottom of the bowl that you use so that you can roll your feet around and give them a massage while you wait.
- Exfoliate. I use a rasp first to get the bulk of the dead skin off because I usually wait until it is pretty tough. Then I use a pumice stone to refine tough spots a bit more. Last I use a nice foot scrub (like my honey sugar or lovely lemon scrubs) all over, paying special attention to any spots left, or that I could not get with the rasp or stone very well (like around my big toe nail).
- Apply and massage in cuticle oil (you can find my recipe here), then use stick or a wash cloth to push cuticles back a bit.
- Trim nails, then file corners so that they do not become ingrown or snag things.
- Buff nail beds. You can use a nice buffer that will leave a great shine for a natural look, or…
- Paint your nails. I just shared a post on how to get a great paint job with Piggy Paint here.
- Apply a nice, thick lotion or body butter. Moisture socks are a nice touch to keep lotion on and enhance its effectiveness.


3 thoughts on “Non-Toxic DIY Pedicure”